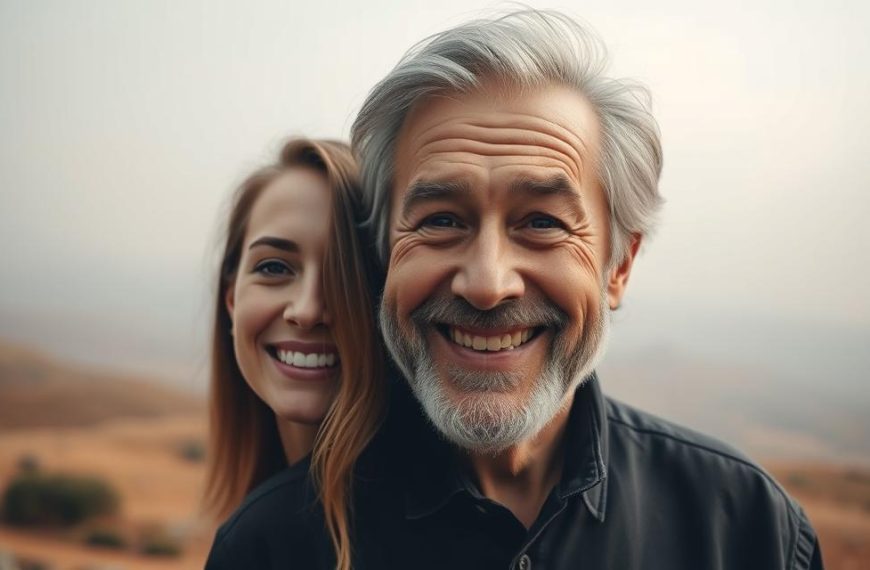
Do you remember watching a movie and being amazed by the special effects? Things like digital de-aging, once exclusive to major Hollywood studios, made the impossible seem real. Movies like Pirates of the Caribbean showed us this magic, thanks to huge budgets and expert teams.
Now, that magic is available to everyone. Advanced AI video editing tools make professional effects easy to use. Remaker AI leads this change, bringing top-notch tech to users.
This guide is your complete, professional guide. We’ll take you from fantasy to real-world application. You’ll learn how to make top-notch face swap videos. Whether you’re an experienced editor or just starting, you’ll get the skills to make impressive videos.
What is Remaker AI Face Swap Video?
Remaker AI’s video face swap function opens up advanced visual effects to everyone. It uses artificial intelligence to swap faces in videos quickly. This means you can make convincing videos in minutes, not weeks.
Defining AI-Driven Face Swapping Technology
AI-driven face swap technology is a big change from old methods. Before, swapping faces in videos took a lot of time and money. Skilled artists had to edit each frame by hand.
Now, machine learning models do the work. They look at facial features, lighting, and movement. Then, they create a new face that fits perfectly. This face swap technology is now available to anyone online.
Core Capabilities of Remaker AI’s Video Function
Remaker AI’s tool focuses on three main things: realism, ease of use, and speed. These features help make professional-looking videos easily and quickly.
Seamless Integration and Realism
The goal of face swapping is to look real. Remaker AI’s algorithms match skin tones, expressions, and movements. This makes the new face seem like it belongs.
As one source says, a good swap can fool even the most critical eye. Imagine putting your friend’s face on Leonardo DiCaprio’s in The Wolf of Wall Street. The AI makes sure the swap looks right, with the right intensity and lighting.
Accessibility for Non-Experts
You don’t need to know video editing or visual effects. The platform is easy to use. It guides you through a simple process of uploading and processing.
This makes face swap technology available to everyone. Creators, marketers, and hobbyists can all use it. The AI does all the hard work, so you can focus on your idea.
Speed and Efficiency Compared to Traditional Methods
AI is much faster than old methods. Manual VFX could take days for a short clip. Each frame needed careful editing to avoid looking unnatural.
Remaker AI works on the whole video at once. It makes the swap much quicker. What used to take a week can now be done in just a few minutes. This makes creating and testing ideas much faster.
Essential Prerequisites Before You Begin
Good video preparation needs a few things. First, you need a device that works well with the software. Second, your video and images should be of high quality. Getting these right saves time and makes your final video better.
Starting with the basics helps avoid problems. It lets you focus on being creative once you start using Remaker AI.
Technical Requirements: Device and Connection
Remaker AI works on its website or through a mobile app. The choice you make affects what you need to do to get started.
For web use, a fast internet connection is essential. This is because you’ll be uploading and processing videos. If you use the app, make sure your device’s software is current. Also, having enough free space on your device helps with video handling.
| Platform | Key Requirement | Recommended Specification |
|---|---|---|
| Web Browser | Stable Internet Connection | 10 Mbps minimum upload speed |
| iOS App | Device Compatibility | iOS 14.0 or later |
| Android App | Device Compatibility | Android 8.0 or later |
Gathering Your Visual Assets
Once your tech is ready, focus on your visual materials. Having everything organised saves a lot of time. You’ll need two main things:
- The Source Video: This is the main video for the face swap. Make sure it’s well-lit and steady for the best results.
- The Target Face Image: This is the photo you want to swap in. It should be clear and a straight-on shot for the AI to get it right.
This part of video preparation is about choosing the right materials. Picking the right assets is as important as the technical steps that come next. Check that your files are in formats like MP4 for videos and JPG for photos to avoid upload issues.
Understanding the Ethics and Legalities
Ethical AI use is key to making face swap content that’s both new and legal. This tech needs a responsible approach. Following these rules helps avoid legal trouble and keeps your audience’s trust.
The Importance of Consent and Privacy
Using someone’s face without their okay is a big privacy breach. Always get explicit consent before using someone’s face in a swap, if you plan to share it online. This respects their rights and prevents harm.
When to Seek Permission
Getting consent isn’t always clear-cut. It depends on the person’s status and your project’s details. The table below helps you decide when to ask for permission.
| Scenario | Permission Required? | Key Reasoning |
|---|---|---|
| Swapping with a friend’s photo for a private joke | Yes, strongly advised | Respects personal relationship and privacy, even for private use. |
| Using a public figure’s image for parody or commentary | Potentially (Consult legal advice) | May fall under “fair use,” but likeness rights and defamation laws can apply. |
| Incorporating a stranger’s image from a public website | Yes, absolutely | Public availability does not equal consent for manipulation and reuse. |
| Using your own likeness | No | You inherently grant permission to use your own image. |
Copyright Considerations for Source Material
You also need to think about who owns the video you’re editing. Using clips from copyrighted media without permission is illegal. Copyright law protects creators’ work, including videos and sounds.
Using Licensed or Original Content
It’s best to use content you have the right to modify and share. This way, you avoid legal issues. Focus on these types of content:
- Original Videos: Your own footage is always safe.
- Royalty-Free Stock Footage: Get it from places like Pexels or Pixabay that allow commercial use.
- Public Domain Content: Old videos or films where copyright has expired.
- Properly Licensed Clips: Material bought or licensed for use in your project.
Following these guidelines makes your creative work responsible and legal. It turns a simple trick into a respectful practice, showing your commitment to ethical AI use.
Preparing Your Source Video for Optimal Results
Getting the best from Remaker AI starts with preparing your video. The AI looks at every frame, so the source video quality is key. Good preparation avoids blurry faces or awkward swaps.
Selecting a Video with Favourable Conditions
Not all videos are good for face swapping. Look for ones with clear, steady shots of the face. This helps the AI work better.
Ideal Lighting: Even and Front-Facing
Bad lighting can mess up the AI’s work. Go for soft, even light that shines directly on the face. Think of the lighting in The Devil Wears Prada for a good example.
Stable Camera and Clear Facial Visibility
A shaky camera or moving subjects are hard to track. Choose videos with steady shots and clear faces. Scenes from Pirates of the Caribbean are great examples.

Technical Specifications and Formatting
The digital file also needs to meet certain standards. The right format ensures the AI can work well with it.
Recommended Resolution, Codec and File Size
Following these guidelines helps Remaker AI work better.
| Specification | Recommended Value | Notes |
|---|---|---|
| Resolution | 1080p (1920×1080) or higher | SD footage may result in pixelated swaps. |
| Codec | H.264 (.mp4, .mov) | Widely supported and offers good quality compression. |
| Frame Rate | 24-30 fps | Standard rates maintain natural motion. |
| File Size | Under 500MB per clip | Larger files may require longer processing times. |
Trimming Unnecessary Footage in Advance
Trim your video to just the parts you want. Cut out long intros, outros, or scenes without the face. Use free tools like DaVinci Resolve or iMovie for this.
By focusing on both the environment and technical details, you set up for a great face swap. High source video quality is key for professional results.
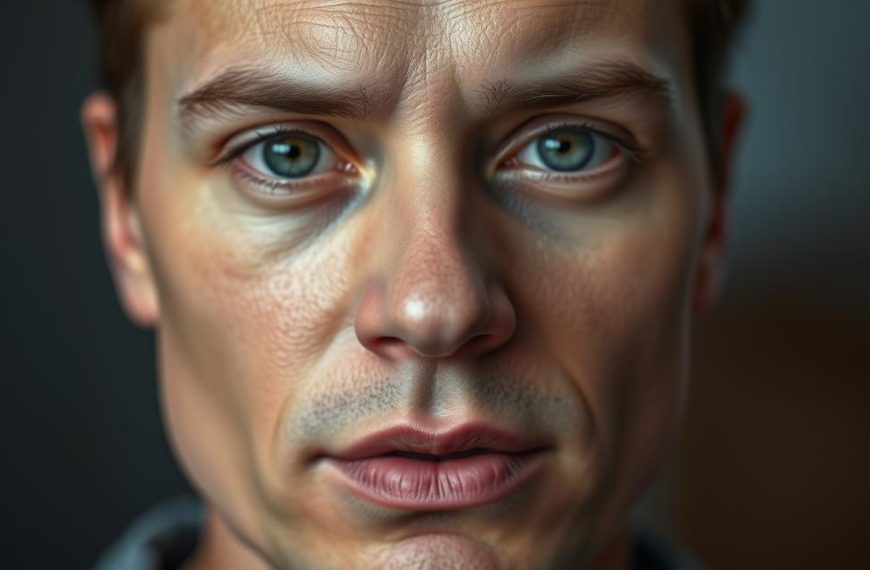
Choosing and Preparing the Target Face Image
Choosing the right target face image is key. It affects how real and impactful your video will be. This photo is the main guide for Remaker AI’s algorithms.
Characteristics of an Ideal Face Photo
Your photo needs to meet certain standards for a smooth swap. It should be a clear, detailed blueprint of the face you want.
High Resolution and Frontal Angle
A high-resolution image is essential. Low-quality photos can lead to unnatural results. The face should be clear and big in the frame.
The angle of the photo is also critical. A straight-on view is highly recommended. Angles that are too far off can hide important facial details.
Neutral Expression and Good Contrast
A neutral face works best for versatile swaps. Avoid photos with extreme expressions. They can make the final video look unnatural.
Also, the background should contrast well with the face. A busy or similar-coloured background can confuse the AI. A simple background helps the software focus on the face.
Sourcing Images: Library vs. Personal Uploads
Remaker AI offers two ways to get your target face image: a library or uploading your own.
The library has pre-cleared images of public figures. It’s great for quick tests or specific projects. Think of using photos like Scarlett Johansson’s publicity shots.
But, for personal projects, uploading your own photo is better. You have full control over the image’s quality and details. This is best for photos of friends, family, or original characters.
Whether you use the library or upload your own, following these guidelines will help your project succeed.
Navigating to the Remaker AI Face Swap Tool
Starting your face swap video journey begins at the Remaker AI interface. Here, you set up your account and find the tool. This guide helps you get started quickly.
Account Creation and Subscription Tiers
To use Remaker AI, you need to create an account. It’s fast, just needing an email or social media login. After signing up, you’ll see the platform’s subscription options.
It’s important to know about the different tiers. The free tier is great for trying things out. But, for those who make videos often, a premium plan offers better quality and speed.
| Plan Tier | Key Features | Best For |
|---|---|---|
| Free | Limited swaps per day, standard resolution, watermark. | Beginners testing the technology. |
| Premium (Monthly/Annual) | Unlimited swaps, HD output, priority processing, no watermark. | Regular content creators and professionals. |
| Enterprise | Custom volumes, API access, dedicated support. | Businesses and large-scale projects. |
Look for a free trial of the premium service. It lets you try advanced tools before paying.
Step-by-Step: Finding the Video Face Swap Interface
After logging in, finding the video face swap tool is next. The steps vary between the web and mobile app.
On the Remaker AI website, the dashboard has many options. Look for “Tools,” “AI Tools,” or “Features.” Then, find and pick “Video Face Swap” or something similar.
For the mobile application, search for “Remaker AI Face Swap” in the app store. Once installed, the app’s main screen will have a button for video swapping.
- Open the Remaker AI website or app and log in.
- From the main dashboard or homepage, identify the tools menu.
- Scroll or browse until you see the option for video face swapping.
- Click or tap on the “Video Face Swap” interface to enter the creation workspace.
In this workspace, you upload your video and image to start the swap.
Step-by-Step Guide to Performing the Swap
To get a seamless face swap, follow three key stages in the Remaker AI interface. This face swap tutorial guides you through each step, from uploading to fine-tuning. This ensures a smooth process and a realistic outcome.
Step 1: Uploading Your Source Video File
Start by finding and clicking the ‘Upload Video’ button in the tool’s main area. You can drag and drop your file or pick it from your device. The system will then start analysing your video, finding faces.
For scenes with more than one person, like in The Wolf of Wall Street, the AI spots each face. You can then pick which face to swap.
Handling Upload Errors and Format Issues
If your file won’t upload, check it meets the platform’s format and size rules. Common formats are MP4 and MOV. A slow internet might cause problems; try a faster connection.
If errors continue, try converting your video to H.264. This often fixes compatibility issues.
Step 2: Introducing the Target Face
After processing your video, you’ll be asked to choose a new face. You can pick from the library or upload your own image.
Using the Face Library Effectively
Remaker AI’s library has many faces to choose from. Use filters to find a good match. Make sure the target’s pose and lighting match your video.
Always check the licensing terms for library images to use them legally.
Uploading and Cropping a Custom Image
For a personal touch, click ‘Upload Image’ to use your own photo. The tool will show a cropping guide. Crop tightly around the face, making sure eyes, nose, and mouth are in the frame.
A clear, front-facing photo works best. The system uses this area for the swap.
Step 3: Fine-Tuning the Alignment and Settings
Before the final video, use advanced controls to fine-tune. This step is key for a realistic swap.
Manual Adjustment for Precise Feature Matching
If the face overlay is off, use manual tools to adjust. You can move the face or change its angle. Focus on aligning pupils and nose tips for a natural look.
Configuring Blend, Colour and Sharpness Sliders
The ‘Blend’ slider controls how the new face blends with the original. A moderate setting looks natural.
Adjust ‘Colour’ to match the new face’s tone with the video’s lighting. ‘Sharpness’ defines features, but be careful not to overdo it.
Try small changes and preview them. Mastering these adjustments makes your swap look great, completing this face swap tutorial.
Processing, Reviewing and Exporting Your Video
After uploading your files and adjusting settings, you reach the final stage. This involves the core video processing AI generation, a detailed review of the output, and securing your video for use.
Initiating the AI Generation Process
Click the ‘Generate’ or ‘Swap’ button when you’re happy with the preview. Remaker AI’s algorithms start working. They analyse every frame of your video to seamlessly map the target face onto the subject.
This complex task happens on Remaker AI’s servers. So, a stable internet connection is key.
Estimated Processing Times
Processing time varies. Short clips might take just a few seconds. Longer or higher-resolution videos could take several minutes.
Factors like video length, resolution, and server load affect time. A progress indicator will keep you updated.
Critically Analysing the Preview Output
When processing is done, a preview plays automatically. Don’t download yet. Watch it several times, focusing on the swapped face’s integration.
A successful swap will look natural and convincing. The new face should match the original subject’s movements and lighting well.
Identifying and Addressing Common Artefacts
Look for these common issues in the preview:
- Blurriness or Mismatched Resolution: The swapped face appears softer or sharper than the surrounding video.
- Misalignment During Movement: The face “slips” or does not track perfectly with head turns or fast motions.
- Unnatural Skin Tone Blending: The face colour does not match the neck or surrounding skin.
- Ghosting or Double Edges: Faint remnants of the original face are visible around the edges.
If you spot major artefacts, you might need to go back to the alignment step. Or use a clearer target image, or try a different source video segment.
Finalising and Downloading Your Creation
After a satisfactory review, it’s time to export. Look for the download button, often a downward arrow or save icon.
Before downloading, you might have options to configure your final output. This ensures the file is perfect for its intended purpose.
Selecting the Optimal Output Format and Quality
Remaker AI usually offers standard video formats. Your choice depends on where you plan to use the video.
| Output Format | Best Use Case | Key Considerations |
|---|---|---|
| MP4 (H.264) | Universal compatibility; ideal for social media (Instagram, TikTok, YouTube), messaging apps, and general playback. | Offers a good balance of quality and file size. Usually the default and recommended choice. |
| MOV | Professional editing or Apple ecosystem use. Suitable for personal archives where you might edit the video later. | Often provides higher quality but results in larger file sizes. Check compatibility with your editing software. |
| Lower Resolution/Quality Setting | Quick sharing via email or messaging where small file size is critical. | Speeds up upload and download times but reduces visual fidelity. Avoid for primary archives. |
| Highest Available Quality | Personal archiving, portfolio pieces, or use in other video projects where maximum detail is required. | Largest file size. Ensures you have the best possible master copy for future needs. |
With your format selected, click download. Save the file to a dedicated folder on your device. Your face swap video is now ready for its debut.
Advanced Tips for Professional-Quality Swaps
To make your face swap videos look top-notch, learn some advanced tricks. Even the best AI tools can use a human touch to fix small issues and make things look more real. This part will show you how to fix common problems and use basic editing tricks to make your videos look like they’re from a TV show.
Troubleshooting Suboptimal Results
Not every swap will be perfect right away. Finding out what went wrong is the first step to fixing it. Here are tips for two common issues.
Fixing Blurriness or Misalignment
Blurriness or a face that looks like it’s floating can happen for a few reasons. It might be because the video is moving too fast, the head is turning too much, or the video quality is low. These things can confuse the AI’s tracking.
To fix this:
- Re-select Anchor Points: If you can adjust things manually, make sure the face’s key points (eyes, nose, mouth) are right in the reference frame.
- Source a Clearer Target Image: Use a high-quality photo where the face is looking in the same direction and has similar lighting to the original video.
- Consider a Different Scene: If the movement is too much, try swapping the face into a shot where the person is facing forward and not moving as much.
Correcting Unnatural Skin Tone Blending
When the skin colour or texture doesn’t match, it can break the illusion. This usually happens when the lighting in the video and the photo are very different. Remaker AI tries to blend things naturally, but sometimes it needs a little extra help.
After you’ve made your swap, use a professional video editing tool to add colour correction. Just tweak the swapped face area to match the scene’s lighting.
“The magic of believable visual effects isn’t in the grand illusion, but in the meticulous correction of a hundred tiny details.”
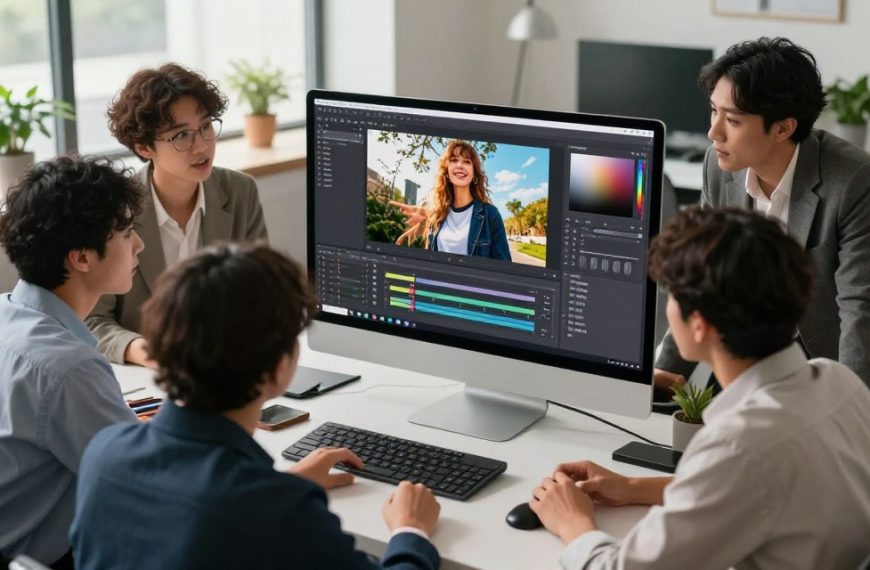
Enhancing Realism with Post-Processing Ideas
Don’t stop with Remaker AI. Bringing your work into a dedicated editor for final touches can really improve it. This can make your videos look like they were made for TV.
Basic Colour Grading for Consistency
Colour grading is about adjusting colours and light to create a mood. For face swaps, it makes the new face fit right in with the scene.
Here’s how to do it in editors like DaVinci Resolve or Adobe Premiere Pro:
- Match Overall Exposure: Make the brightness and contrast of the swapped face match the original video.
- Adjust Temperature and Tint: Fine-tune the colour balance. If the scene is warm, add warmth to the face; if cool, adjust it.
- Use a Subtle Vignette: A slight darkening at the edges can help focus on the subject and blend things together.
This last step is what makes a swap look professional.
| Common Issue | Likely Cause | Advanced Solution |
|---|---|---|
| Blurry or ‘Ghosting’ Face | High motion in source video; poor target image quality. | Use a stabilised video clip. Manually refine alignment points in the AI tool before processing. |
| Mismatched Skin Tones | Divergent lighting colour (e.g., warm indoor vs. cool outdoor light). | Perform a colour match in post-production using the eyedropper tool on adjacent skin areas in the scene. |
| Unnatural Edge Definition | AI struggling with complex backgrounds or hair detail. | In your video editor, apply a very slight feather or blur mask to the edge of the swapped face layer. |
| Inconsistent Video Quality | Export settings from the AI tool are lower than source material. | Always export at the highest resolution available. Upscale if necessary using AI tools in your professional video editing software. |
By fixing problems before they start and adding careful editing, you can control the final look. This dedication to quality shows you’re a skilled creator. It turns a fun AI feature into a valuable tool for professional video editing projects.
Creative Applications and Project Ideas
Remaker AI is more than just swapping faces. It’s a tool for creative storytelling and personal expression. It helps create creative video content that grabs attention and brings joy to friends. Let’s dive into some exciting ways to use it.
Content Creation for Social Media
For those who create digital content, face swap videos are a treasure trove. They offer a new way to connect with followers, increase interaction, and shine in a busy online world. The secret is to focus on telling a story, not just the novelty.
Engaging Comedy and Parody Videos
Picture this: your face or a friend’s in famous movie scenes or music videos. It’s a great way to make social media clips and meme videos that people love to share. You can redo famous lines with a funny twist or make fun of current events. The result is humour that feels real and connects with viewers.
Educational and Historical Content
Teachers and history buffs can make learning fun and memorable. Imagine videos where historical figures talk about key events or face swap to explain science in different ways. This makes learning fun and easy for everyone.

Personal and Entertainment Uses
On a personal level, this tech is for making special moments. It’s great for creating fun and meaningful videos, perfect for sharing with loved ones.
Customised Greetings and Fun with Friends
Make birthday surprises unforgettable with a funny video. Swap the birthday person’s face into their favourite film or a celebrity message. You can also make videos with friends for laughs or to celebrate special times. It’s a way to create lasting memories together.
As you can see, the possibilities are endless. Whether you want to grow your online presence or make a unique gift, Remaker AI has you covered. We encourage you to try new things and find your own special projects.
Your Gateway to Professional Video Creation
Creating engaging face swap videos is now within reach for everyone. This guide has covered everything from the tech to the ethics. It also looked at how to prepare and execute your project.
Success starts with good preparation. Pick the right source videos and high-quality face images. Remember to check for consent and copyright to keep your work legal and ethical.
Remaker AI is a top choice for making videos easy. Its user-friendly design lets you focus on being creative. It turns complex video editing into a simple task.
Independent tests show Remaker AI is the best for most users. It helps creators make great content for social media or personal projects easily.
Try out the techniques we’ve shared. Begin with simple swaps and then try more complex ones. Let your creativity shine and see what you can do with AI video tools.

 By
By